INTERNAL VIEWS OF KREMATORIUM I
(Furnace room and gas chamber) |
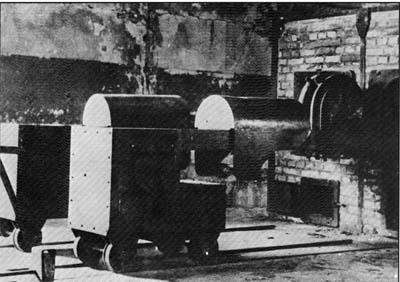 |
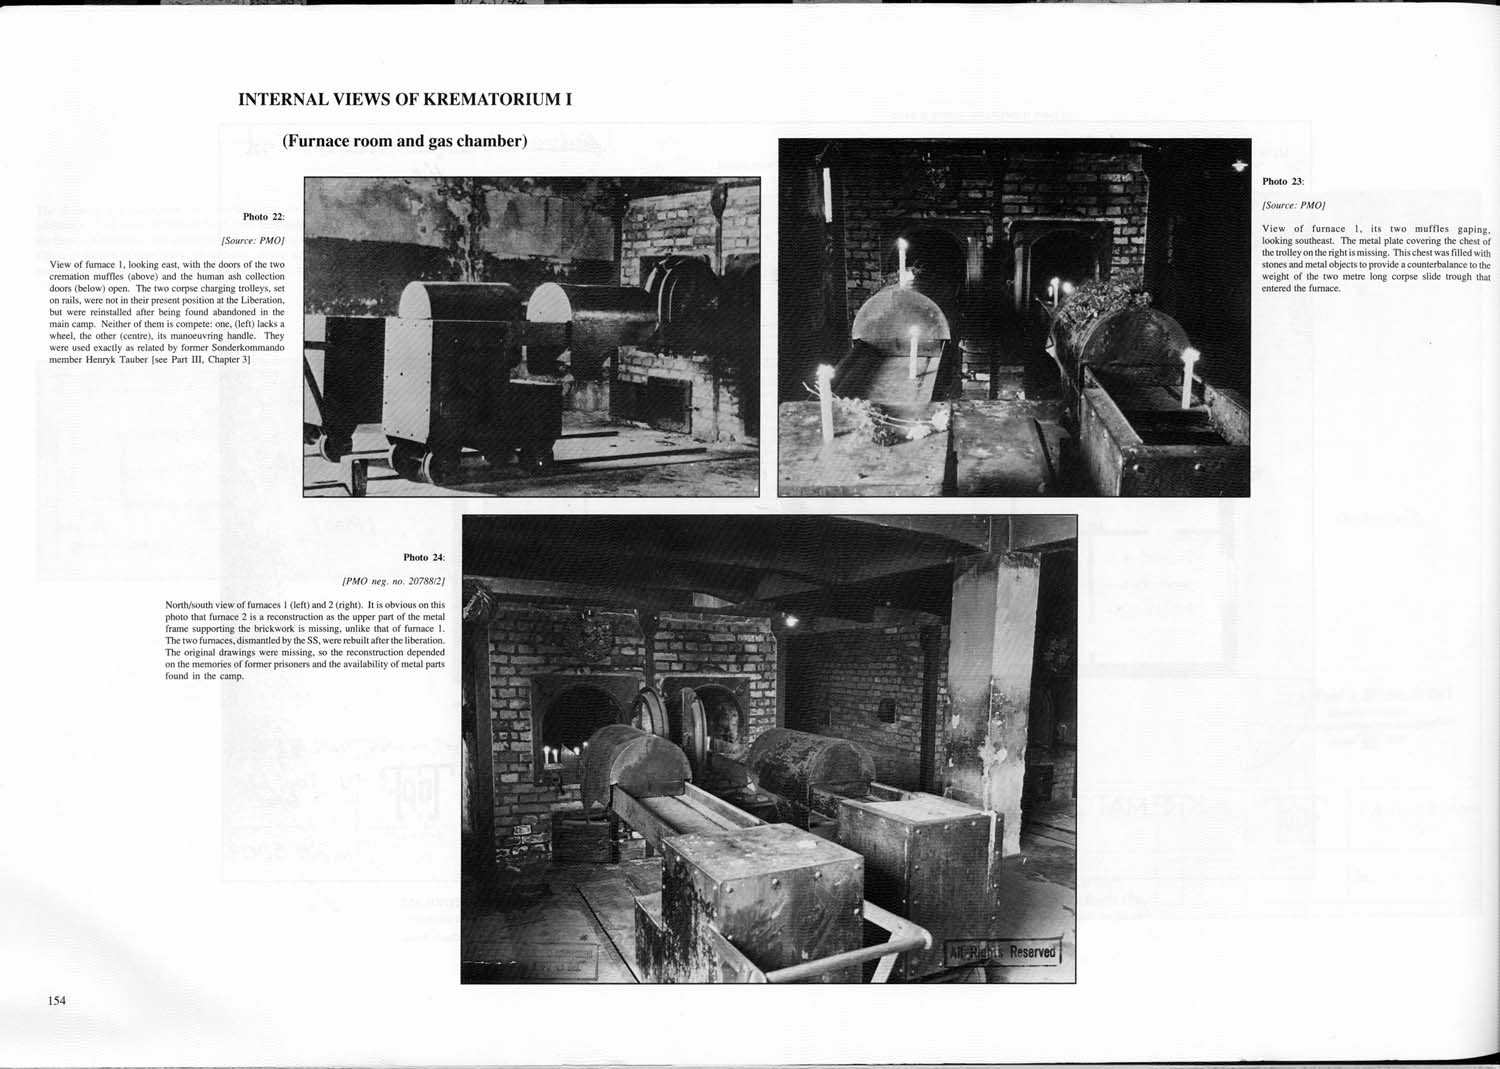
Photo 22:
[Source: PMO]
View of furnace 1, looking east, with the doors of the two cremation muffles (above) and the human ash collection doors (below) open. The two corpse charging trolleys, set on rails, were not in their present position at the Liberation, but were reinstalled after being found abandoned in the main camp. Neither of them is complete: one, (left) lacks a wheel, the other (center), its maneuvering handle. They were used exactly as related by Sonderkommando member Henryk Tauber [see Part III, Chapter 3] |
Photo 23:
[Source: PMO]
View of furnace 1, its two muffles gaping, looking southeast. The metal plate covering the chest of the trolley on the right is missing. The chest was filled with stones and metal objects to provide a counterbalance to the weight of the two meter long corpse slide trough that entered the furnace. |
 |
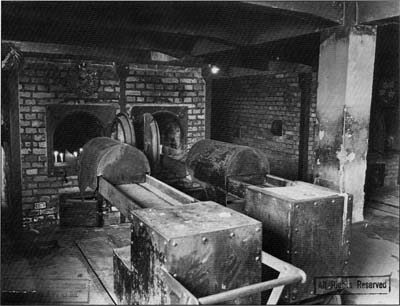 |
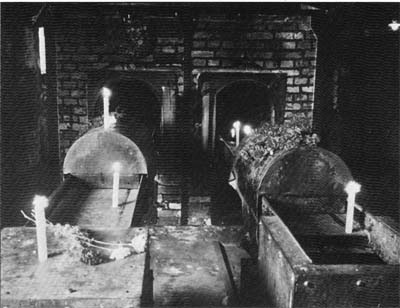
Photo 24:
[PMO neg. no. 20788/2]
North/south view of furnaces 1 (left) and 2(right). It is obvious on this photo that furnace 2 is a reconstruction as the upper part of the metal frame supporting the brickwork is missing, unlike that of furnace 1. The two furnaces, dismantled by the SS, were rebuilt after the liberation. The original drawings were missing, so the reconstruction depended on the memories of former prisoners and the availability of metal parts found in the camp. |
|